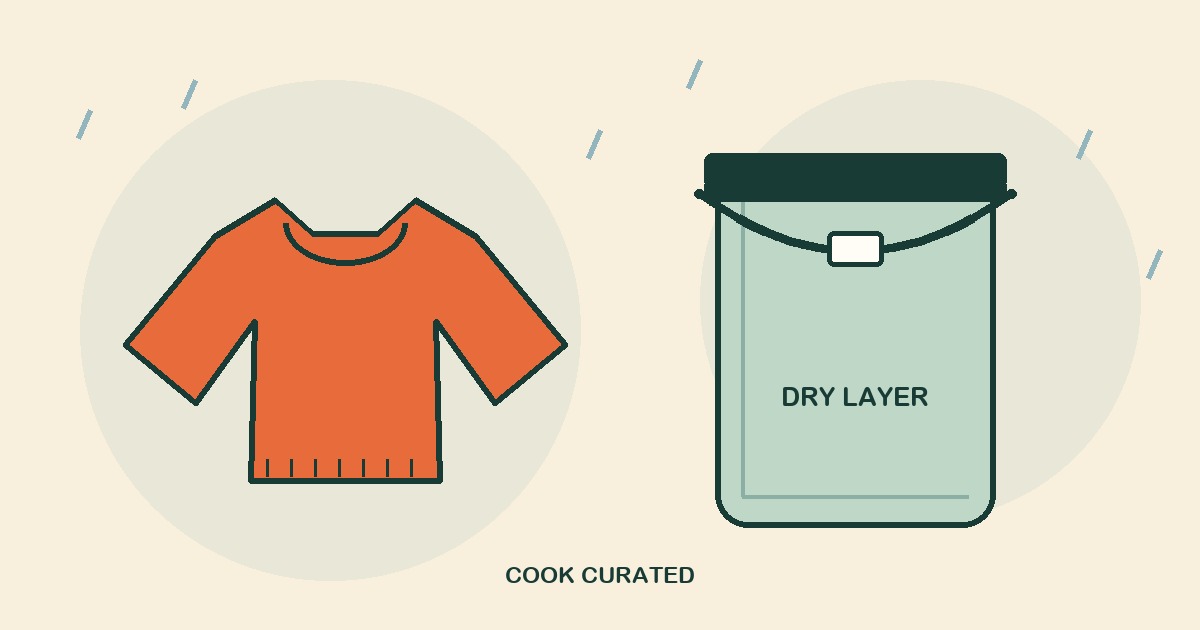
Pack the backup before you need it
Rain starts, you open the pack, and the spare layer feels exactly like the one you are wearing. That is the problem behind this week’s Reel. Gary protected one biscuit. Don’t be like Gary.
Choose the spare clothing for the route, forecast, season, and people coming with you. A warm layer and suitable rainwear belong in the plan before you leave. The National Park Service recommends planning for changing conditions and carrying the equipment your particular hike requires; a dry bag is one part of that preparation.
Size it around the actual layer
Put the clothing you intend to carry on the table. A lightweight top, a bulky fleece, and an insulated jacket need different amounts of room. Compare the bag’s usable capacity and closure requirements, rather than buying by the smallest packed photograph.
Leave the space the manufacturer requires above the contents. You should be able to make the specified folds and secure the buckle without trapping a sleeve in the closure or forcing it shut. Practice with the actual load at home. If closing it feels like an argument, use a larger bag or reduce the contents.
Build one dependable packing habit
Give the dry layer its own place inside the pack. Keeping it together makes it easier to find and avoids scattering clean clothing on wet ground while you look for something else. Close the bag again after taking anything out.
- Start with a clean, dry bag and completely dry clothing.
- Inspect the fabric, seams, roll top, and buckle before packing.
- Leave the required closure space, roll as instructed, and clip securely.
- Carry it inside the pack, protected from sharp tools and abrasion.
- Keep wet rain gear separate; dry everything thoroughly after the trip.
Read the limit as carefully as the name
The Hilltop Packs Ultralight Dyneema Dry Bag in our marketplace is a light, weather-resistant organizer. It is not a submersible container. Hilltop distinguishes ordinary hiking protection from the heavier construction needed for boating and possible immersion. A product called a dry bag does not automatically protect a camera or clothing through a capsize.
Choose equipment rated for the exposure you expect, follow its closure instructions, and keep the trip within the conditions your group can handle. Protecting a spare layer does not turn a poor weather decision into a good one.
Dry bag, pack liner or rain cover?
A rain cover shields the outside of a pack; it does not create a sealed dry compartment around the clothing. A liner gives a larger interior zone, while a separate bag makes one spare layer easier to find and keep apart from wet gear. These are different ways of organizing protection, not interchangeable guarantees. Check the rating and closure instructions of the particular product you choose.
A 20-litre Big River bag and an ultralight Hilltop sack also answer different carrying questions. Compare packed weight, usable volume, abrasion exposure and the size of the actual layer. Do not infer submersion protection from the name “dry bag,” and do not overfill the roll top.
A short wet-weather packing check
Pack the dry layer where you can reach it without unloading the bag into the rain. Give sharp tools their own protected place. Keep worn rainwear outside the clean dry compartment, and open everything to dry when you return. Practice the closure with the real load before relying on it on a walk.


